
 21 July 2026
 Share
Share
1
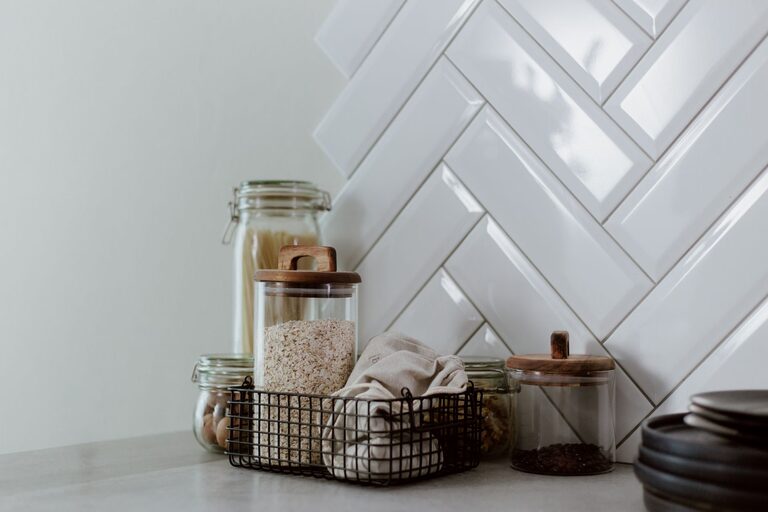
Keeping your kitchen counters clutter-free can transform your cooking experience. A neat and organized space not only looks inviting but also makes meal prep easier and safer. However, with appliances, utensils, and ingredients all vying for space, it’s common for counters to become crowded quickly. If you’re looking for practical ways to clear your kitchen surfaces and maintain that tidy look, this guide offers helpful strategies you can start using today.
Before diving into the how-to, it’s good to understand why decluttering your counters is beneficial:
– Improved workflow: With more space to work, cooking and prepping become smoother.
– Enhanced cleanliness: Fewer items mean easier and quicker cleaning.
– Safer environment: Reduces the risk of knocking things over or accidents.
– Aesthetic appeal: A tidy kitchen feels welcoming and relaxing.
Now that we know the benefits, let’s explore actionable steps.
Start fresh by removing all items from your kitchen counters. This may feel overwhelming but is essential to see exactly what you have and what truly needs a spot on your counters.
– Wipe down all surfaces once cleared.
– Group items into categories: daily essentials, occasionally used, rarely used, and trash/donations.
– Be honest about what you really use often.
Identify the items you use every day—like a coffee maker, toaster, or knife block—and decide which of these are worth leaving on the counter. Only keep those that genuinely add value to your routine.
Try to limit daily essentials to no more than 3-4 items to maintain a clean look.
Items not needed daily should be stored elsewhere. Cabinets, drawers, pantry shelves, or storage bins can house appliances and tools you use less frequently.
– Use drawer dividers for utensils and gadgets.
– Store seldom-used appliances in lower cabinets.
– Utilize vertical space with shelves or hooks inside cabinets.
For the essentials that stay, consider using trays or containers to corral related items together. This creates order and makes it easier to clean around those areas.
Place all cooking oils, salt, and pepper in a small tray near the stove.
While it’s nice to personalize your kitchen, too many decorative items can quickly add to clutter. Opt for a few well-chosen pieces that also serve a purpose, such as a fruit bowl or herb planter.
Maintaining a clutter-free counter takes ongoing effort. Adopt a habit of spending 5-10 minutes at the end of each day putting items back in their places and wiping down surfaces.
– Limit countertop appliances: Choose versatile appliances over single-use gadgets.
– Regularly declutter: Every few months, reassess what’s on your counters.
– Use wall storage: Install magnetic strips or hanging rails for knives and utensils to free up counter space.
– Optimize under-sink storage: This often-unused space can hold cleaning supplies and free up room elsewhere.
A clutter-free kitchen counter is achievable with thoughtful organization and daily habits. By prioritizing what stays on your counters, finding the right storage solutions, and maintaining the space with small daily tasks, you can enjoy a kitchen that’s both beautiful and practical. Start small, be consistent, and watch your kitchen transform into a clutter-free zone.
